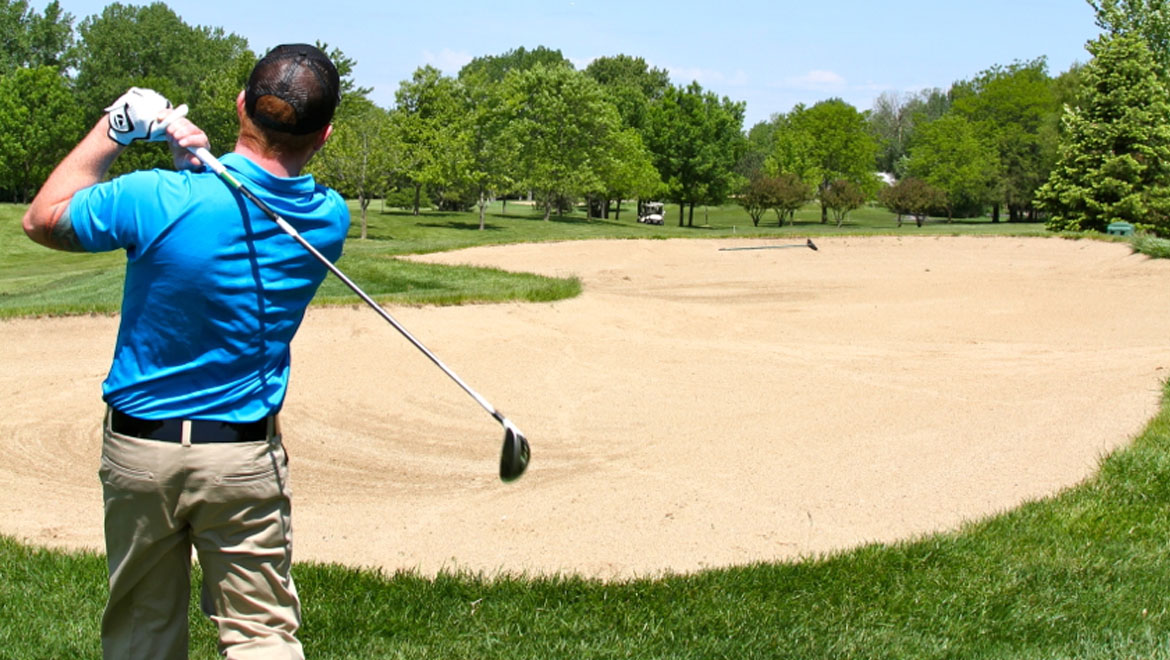
Get Out of Greenside Bunkers With Ease
by: James Standhardt, PGA, GolfTec Naperville
After a mild winter across much of the Midwest and a decidedly wet spring, many courses are coming back to life quickly and with a potent greenside defense in the form of long, thick and penalizing rough. One of the most difficult and fairly misunderstood shots in golf is the deep rough shot ranging from just off the green out to a pitch-shot distance of around 50 yards. This shot can be mastered, however, with some simple understanding of how to use the loft and bounce of your highest-lofted wedge.
I'm going to make the assumption that everyone reading this has a wedge with at least 56 degrees of loft. This shot is made much easier with a higher-lofted wedge, as it necessitates less opening of the face to achieve an advantageous address position. We're going to go through four key concepts to help gain more confidence with this shot – three at address and one during the stroke.
1High Address Loft – Hitting through the thick rough requires a significant amount of clubhead speed to get a consistent, predictable result. The problem with high clubhead speed, however, is it typically means a shot that travels farther. That's where the higher exposed loft comes in – it sends the ball higher/shorter and mitigates the higher speed so you get a ball that carries a shorter distance and lands softly. As a rule of thumb, turning the grip of the club about a half-inch to the right (open for a right-handed player) to open the face 10-15 degrees before setting your grip will expose enough loft to swing aggressively. Additionally, setting up with the face open will also expose a higher degree of bounce on the sole of the club, making it easier to hit down through the rough without the club digging into the ground!
2Low Handle – Setting up to a wedge with the hands/handle a bit lower than normal will offset the opening of the face and allow the sole to interact with the turf more ideally, allowing for a high, short ball flight. Additionally, gripping down slightly on the shaft can also serve to shorten the distance the ball travels, allowing for even more aggressive swings from short distances.
3Ball Position – Because we're trying to strike the ground just behind the ball on this type of shot and utilize the bounce of the wedge, having the ball at the sternum is a great starting point. A simple way to judge this is to pinch your wedge with two fingers right in front of your sternum and let the shaft plumb-bob down to show where the bottom of your swing arc will be. That point should be directly on top of the golf ball when your weight is slightly left of center.
4Hinge-Strike-Hold – The aspect of this shot that most amateurs struggle with the most is the setting and proper usage of the wrist hinge. Because we need to create speed and a rather steep, descending attack angle, using the wrists in the backswing is critical to producing repeatable shots. After setting the wrist hinge early, you should be able to create a downward-strike through the ball by unhinging the wrists on the downswing. The key, however, is to keep the club from re-hinging excessively in the follow-through. The concept of hinge-strike-hold (HINGE up, STRIKE down, HOLD the follow-through) is a great rule of thumb to generate proper interaction with the sole of the wedge and the turf. Ideally, the follow-through on this shot will be only as long or shorter than the backswing to ensure the clubhead doesn't start moving upward to early through impact.
We've covered each detail of the deep rough greenside shot in depth but if you're going to write down some key bullet points to take with you to the practice area these will suit you well:
*High Loft, Low Handle
*Ball Under the Sternum
*Hinge Up, Strike Down, Hold On!


